O’Dell Graphic Solutions was recently contracted by a client to provide audio visual resources for an on-site media training session. In this session two corporate executives were going to be learning the ins and outs of speaking to the media and giving interviews for tv, radio and print.
Most of this project was straight forward, but considering there were some technology curve balls, I thought it might nice to outline an easy-to-use set up for capturing and reviewing audio and video in a media training scenario.

A Great Audio / Video Solution for Media Training Scenarios
The A/V requirements of the media training session were as follows:
- The ability to play instructional video clips to trainees,
- Capturing audio and video of interview role-play scenarios,
- The ability to play the captured footage back to the trainees immediately after for review and critique,
- Produce that footage into multiple finished video clips to be used for future reference and training.
To address requirement 2 & 4, we used a typical run-and-gun DSLR video set up to capture audio and video of a one-on-one interview scenario. For requirement 4, we added an external audio recorder and wireless lav mic to make sure we got crisp clean audio of the interviewee for later production, and for requirements 1 & 3, we added an external monitor, connected to an iPad and camera, to playback and review clips and footage.
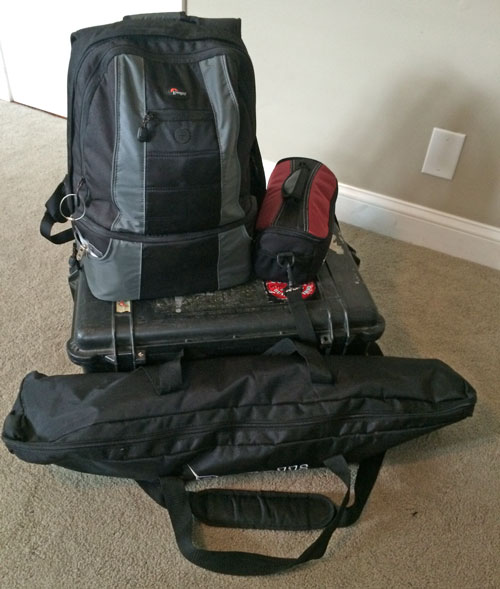
This basic set up covered all of our requirements. The on-location results were great — we could easily review the footage of the various interview scenarios with the clients immediately after they were recorded. The final videos that were produced and distributed to the clients had crisp clean audio of both the interviewer and interviewee. The amount of gear that was required was so small one person could take care of the load-in, set-up and break-down with ease.
Required Equipment & Set Up
Playing Video Clips
First of all, the client needed to be able to play media clips from various sources as examples of good and bad techniques for the executives to consider.
In order to accomplish this we simply built a page on the client’s website which housed all of the video training assets — basically just YouTube and Vimeo embeds.
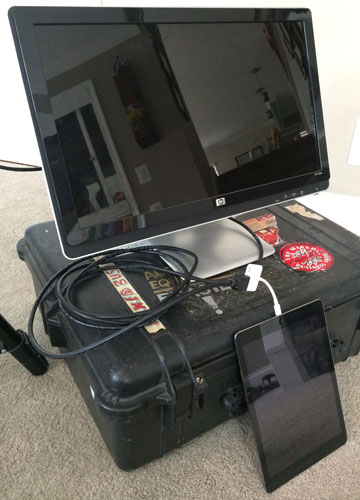
We then figured on using an iPad, or laptop, hooked up to the location’s conference room monitor to show the clips… but there was a catch… we had no idea, and for some reason there was no way to confirm, if the conference room we would be using had a monitor or not. So always wanting to be prepared, we ended up bringing our own monitor and using an HDMI to lighting adaptor from an iPad to the monitor to show the clips. We were glad we did and it worked perfectly.
Capturing Audio & Video for Later Production
The client needed OGS to be able to capture video and audio footage of multiple role-palying scenarios — in which they acted as interviewer in various situations — this footage would later have to be produced into usable training clips for the executives to review and use in the future.
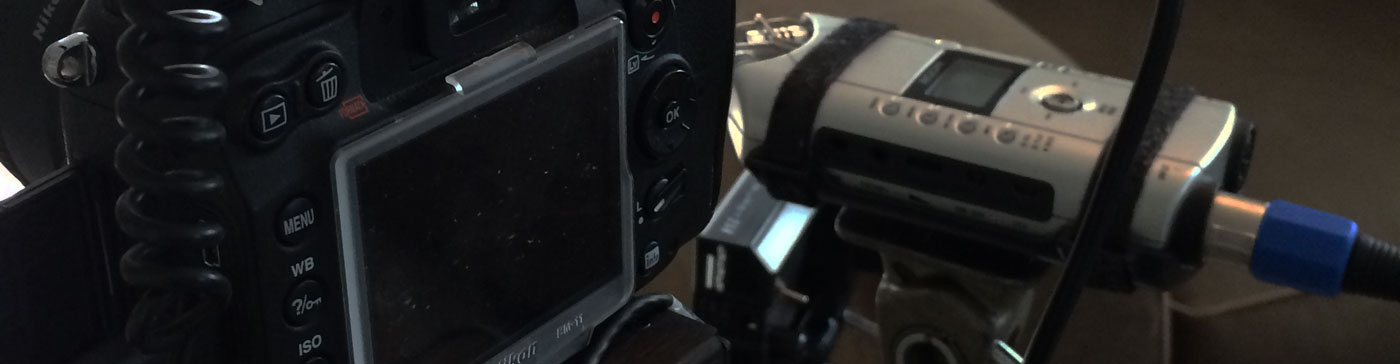
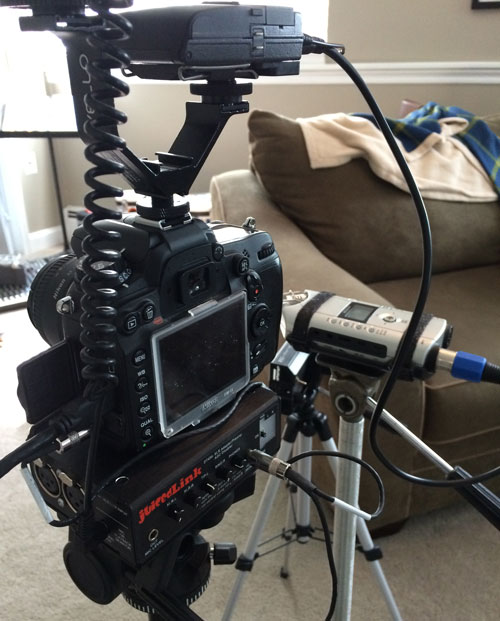
This was as a typical one-on-one interview set up, using a DSLR (our Nikkon D7000 with a 50mm lens) with a Rode shot gun mic to pick up interviewer and general room audio, and one Sennhieser wireless lav mic for the person being interviewed.
(NOTE: As the Nikkon D7000 does not have proper audio metering and monitoring functionality — as discussed in detail in many places — we ran the Rode shotgun mic signal through a JuicedLink DT454 preamp, enabling us to monitor and set audio levels from the shotgun mic as needed, before running that audio signal from the Juicedlink back into the camera. (the Sescom LN2MIC-ZMGHN-MON Line Out to Camera Mic In Headphone Tap Cable is essential for this btw.)
For lighting we used natural light and a small, but powerful, Miniburst 256 LED light and filter for fill.
For the interviewee’s audio we simply ran the wireless lav mic signal directy into an older-model Zoom H4 SD recorder.
If you don’t have an external audio recorder, you should… and if you’re going to pick one up, certainly spring for the newer H4N model. It has a much better set of features — like being able to record using the external stereo mics and the XLR inputs at the same time, an easier-to-use input level control, and above all, it’s actually possible to get the SD card of the newer units with out having to have stupid-long fingernails or a knife handy!

WAIT… why bother to capture audio in the camera, and in an external audio recorder… if all you wanted was the audio in the camera, why didn’t you just run the wireless lav into the juicelink too?
Yea, at first glance it doesn’t make sense… if we’re capturing audio via the wireless lav into an external audio recorder why not just leave it at that, as we’ll have crisp audio to use when producing the footage later.
Well, we did what we did for two reasons, 1) We used the shotgun mic because we wanted to make sure we captured the interviewers audio as best as we could, not wanting to just rely on the close-mic qualities of only the Sennhieser wireless lav picking up both the interviewer and the interviewee, and 2) we needed to consider the most important requirement of the project, the ability for immediate playback of footage for review and critique — for that the audio needed to be clear and in the camera, and we wanted to make sure what ever levels we needed to achieve a clear playback using our external monitor would not have any effect on the audio we would need to use to produce the final edited video clips.
Playing Back DSLR Video & Audio for Immediate Review
So great, we have the video and audio capturing taking care of, but how are we going to play back the footage, with audible audio, immediately after we recorded it? Easy, connect the the HDMI-capable flat screen monitor we brought to play back the video clips, to our DSLR camera using a Mini HDMI (Type C) to HDMI (Type A) Cable. This cable allows you to use any HDMI monitor in place of the camera’s built-in screen for playback or live record monitoring.
After the role-play scenario footage was captured (complete with shotgun mic audio in the camera) we simply played back the footage through the monitor (using its internal speakers) and we have a simple ready to rock way to review, pause, rewind, and fast forward footage.

Results
Due to client confidentiality the final videos and results of this set up can not be shared, but both OGS and our client were very happy with the results.
Conclusion
Obviously there are more than a few ways to accomplish what we accomplished, as there are any number of variations that could be conceived with different equipment like mics, cables, recorders, pre-amps, switchers etc, but given the results, the ease of use and the over-all cost of the gear, we would certainly use this technique for similar projects again in the future… and we recommend this set up as a solid solution or starting point for your own related projects.